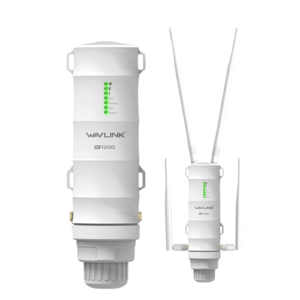
Wifi.Wavlink.Com
If you want to visit wifi.wavlink.com login, you will need a computer or phone.
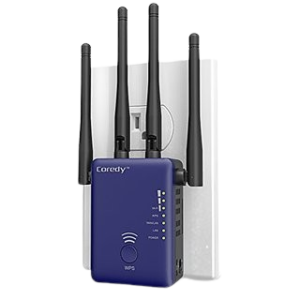
Coredy Extender Setup
Unleash the Power and Remarkable Performance of Coredy Wifi Extender Setup Now!
192.168.10.1
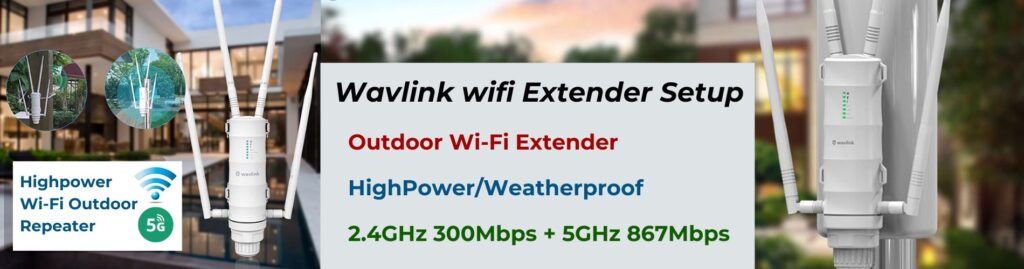
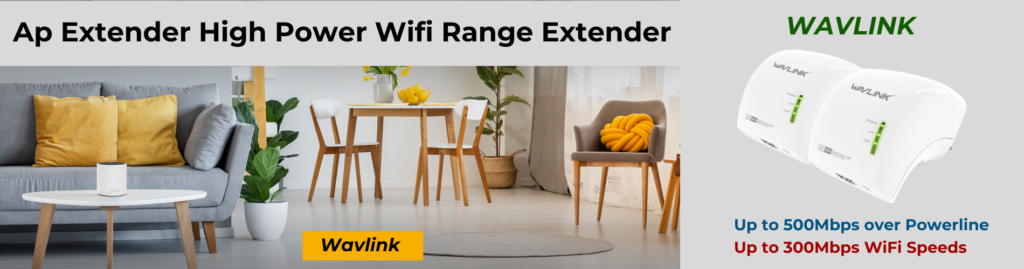
Wavlink brand extenders greatly widen the coverage area of wireless networks.
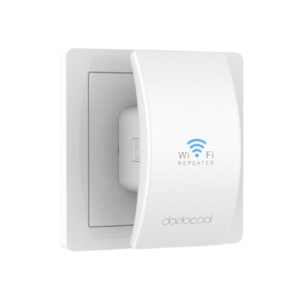
Dodocool Extender Setup
It can function up to a distance of 100 metres and has a 300 Mbps transmission rate.
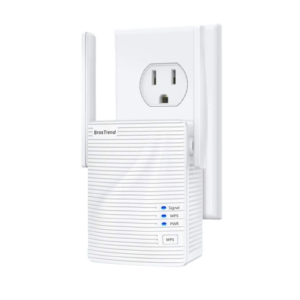
Brostrend Extender Setup
The Re.brostrend wifi Extender Setup may take some time, even if there is a connection
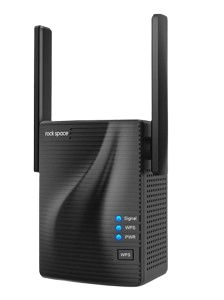
Re.Rockspace.local Setup
The local web page re.rockspace.local setup your Rockspace wifi extender.